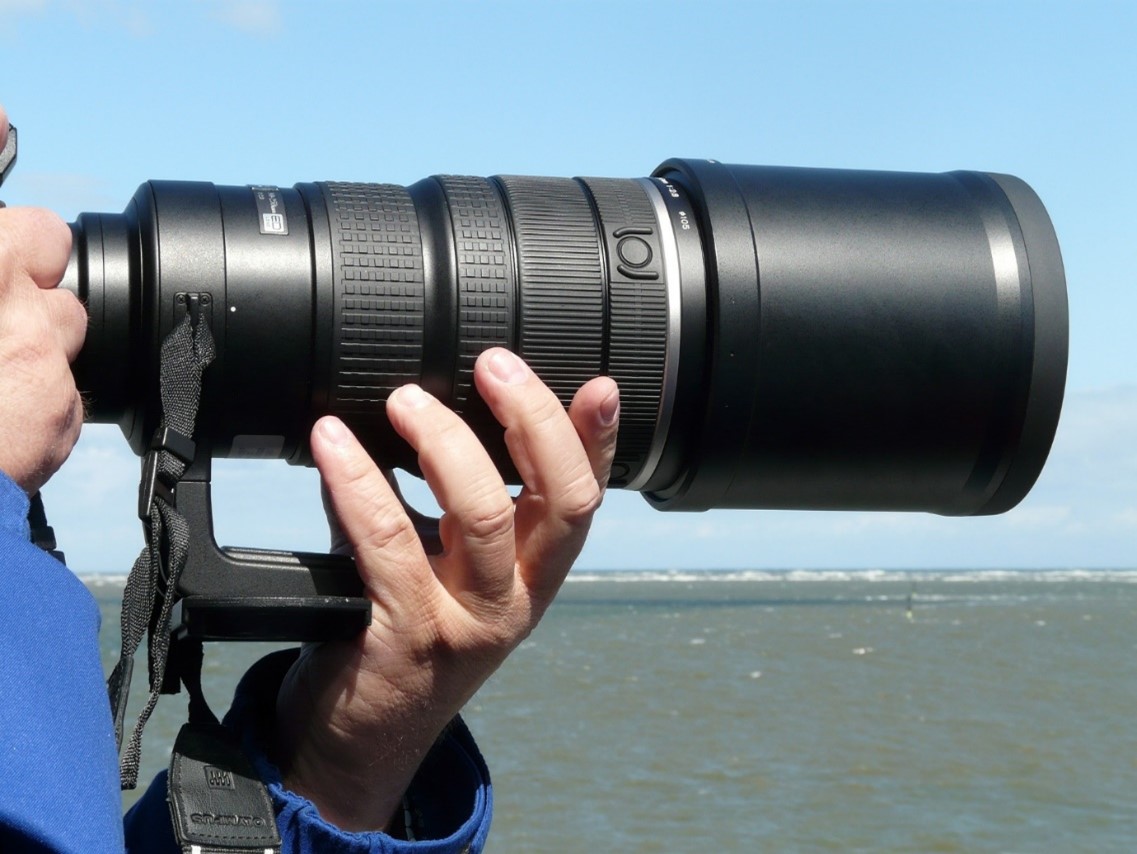
In the age of digital photography, film photography may seem like a thing of the past. However, film photography still holds a special place in the hearts of many photographers and enthusiasts.
One of the key elements of film photography is the process of developing the film. Developing film at home can be a rewarding and fulfilling experience that can make you really appreciate just how far the art of photography has come over the years!
In this article, we will explore the basics of film development, including the necessary equipment, chemicals, and techniques needed to develop your own film. No matter whether you’re an enthusiastic film photographer, or a digital photographer who’s curious about how film photography works, we can give you the necessary knowledge and confidence to start developing your own film.
Film Photography vs. Digital Photography
Film photography involves the use of a camera that captures an image on a light-sensitive film. The film is then developed in a chemical solution to produce a physical print or negative. This process has been around since the early days of photography, and has evolved into a highly-refined and sophisticated technology. It offers a unique and timeless quality that is difficult to replicate with digital cameras.
Unlike digital photography, film captures a continuous range of tones and colours, resulting in a more organic and authentic look. It also has a natural “graininess” that adds character and depth to the image. Additionally, film photography requires a greater level of skill and precision, as there’s no instant feedback on the image captured (unlike digital cameras that provide immediate feedback on the captured image).
Digital photography differs significantly. Instead of using light-sensitive film to record an image, digital cameras use a sensor to capture the image and store it as data on a memory card. Digital photography offers the ability to immediately view and edit your images, giving you a lot of flexibility. However, there’s something undeniably satisfying about anticipating the development of a roll of film, and the greater manual input (for things like adjusting camera settings) helps to put the photography enthusiast more in touch with what they’re doing.
Despite the technological advances behind digital photography, film photography therefore still has a unique aesthetic and charm that many photographers appreciate, so it remains a viable and creative medium for capturing images.
How to Develop Film
Developing film at home can be a rewarding and cost-effective way to create stunning images, but first you’ll need to gather some essentials.
Necessary Equipment
- Film developing tank - This is used to hold the film and the developing chemicals in absolute darkness. They come in various sizes depending on the number of rolls you plan to develop, and a tank should be capable of holding the type of film you’re using.
- Film changing bag - As the process must be completed in complete darkness, you’ll need to use a film changing bag (or a darkroom, if you have one!).
- Thermometer - A thermometer is essential as you’ll need to check that the chemicals are at the correct temperature for optimal results.
You’ll also need measuring cups, a timer, storage containers for your chemicals and a film squeegee. The chemicals you need will have to be chosen according to your specific film type, but essentially the 3 types are a developer, stop bath and a fixer.

Step-by-Step Guide to Developing Film
Now that you’re set up and have all the necessary equipment needed to develop film at home, let’s get started.
- Start by loading the film onto the developing reels in absolute darkness, either in a film changing bag or a specifically designed dark room. It is vital that this is done in complete darkness, as exposing the film to any light at this stage could ruin your images.
- Fill the developing tank with the appropriate amount of developer solution. Be sure to mix the solution according to the instructions on the label. The amount of solution needed will depend on the size of the tank and the number of rolls of film being developed.
- Agitate the developing tank by gently shaking the tank from side to side. This is done to ensure that the developer solution is evenly distributed over the film. The recommended agitation time will depend on the type of developer being used, and can range from a few seconds to several minutes. You can always refer to the instruction label for clarification.
- Next, pour out the developer solution and rinse the film thoroughly with water. Rinsing the film with water stops the developing process and removes any residue. You should ideally rinse the film for several minutes.
- Now pour the stop bath solution into the developing tank and agitate the tank. This neutralises the developer and prepares the film for fixing. Again, the recommended time for agitation will depend on the type of stop bath that you are using.
- Pour out the stop bath solution and instead fill the developing tank with the fixer solution. This fixer stabilises the image and makes it permanent. Without the fixer solution, the image could be susceptible to further development, even after it has been exposed to light.
- Once you have agitated the developing tank, pour out the fixer solution and rinse thoroughly with water. By doing this, you are removing any residual fixer and preparing the film for drying. Ideally, you should rinse your film for several minutes under running water.
- Hang the film to dry. The film should be hung by the leader or clipped onto a hanger and allowed to air dry in a dust-free area. It is important to make sure that the film is fully dry before cutting it into strips or loading it into a negative carrier for scanning or printing.
- Dispose of the chemicals safely and responsibly. Chemicals that are used in the film development process can be hazardous and should be disposed of according to the instructions on the label.
Developing film at home is highly rewarding and, whilst it may seem intimidating at first, you can breeze through the process like a pro if you follow the proper steps and use the right equipment.
Our Digital Photography Diploma Course is currently available for just £29 for a limited time (reduced from £127) if you'd like to start your journey with digital photography before you experiment with film.